How do you capture the exact shape or size of an existing object/shape? ,how do you verify the dimension of the part, that you have manufacture with drawing-accuracy? Well, you’ll find all the answers you need right here. If you are an entrepreneur in the CAD field, this article should be interesting for you.
What is 3D Scanning
3D Scanning is a technique of getting the existing object shape/size & color/texture as a 3D computer digital model. Which is mostly the XYZ point clouds data of the captured object along with texture/color mapping details. These recorded/captured 3D data/point clouds/mesh further processing & construct the exact shape/size of the 3D scanned object. Mainly there are two techniques, which are,
non-contact
contact
https://www.youtube.com/watch?v=p33qxgdEwVc&feature=emb_title
Non – Contact
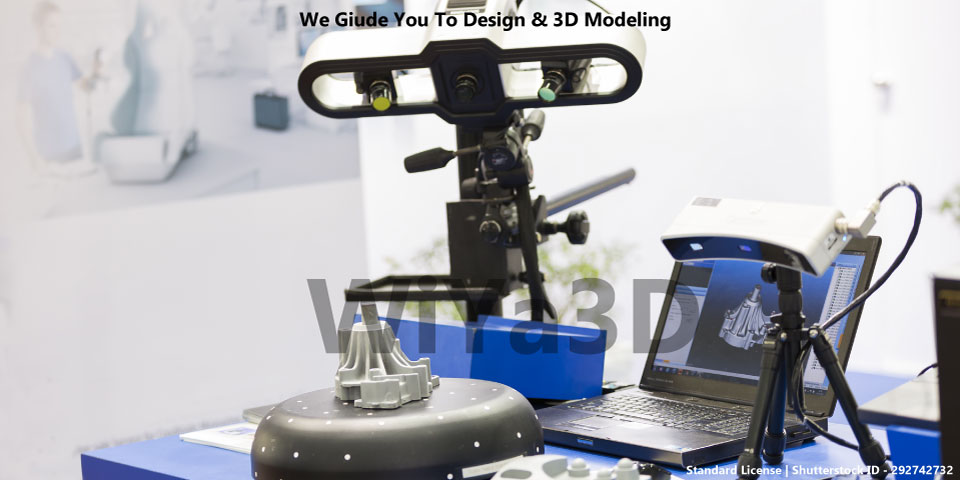
With this technique, the 3D Scanner emit structured laser beam source or structured light source, towards the object.Then, based on the reflection & it’s detection the computer compute the object shape/size as a 3D digital model data.
Laser Triangulation – 3D Scan
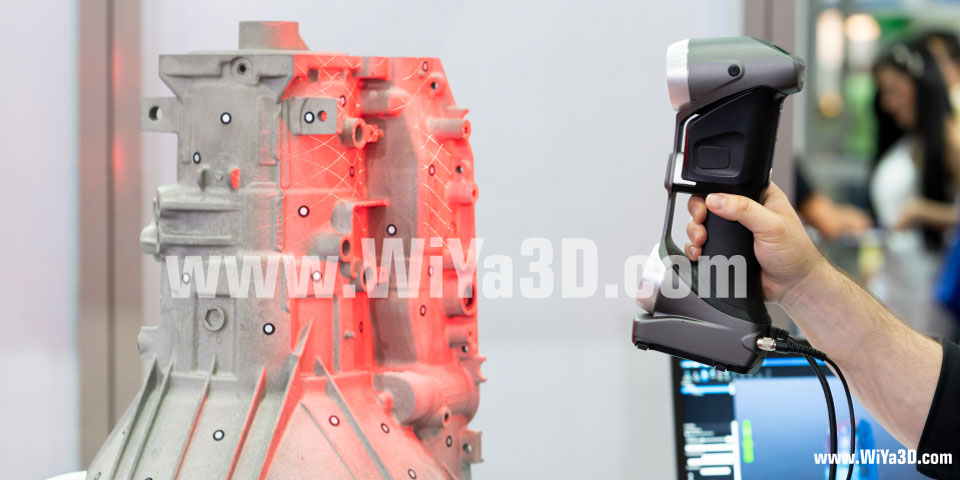
In build, laser beam focus & emit towards the scanning object and reflection point record from the two known points from the 3D scanner. Those individual, recorded points construct the 3D shape of the scanned object in this method.
Top Popular 3D Scanner based on this Technology – Konica Minolta, Frontier, ZEISS
Structured White/Blue Light – 3D Scan
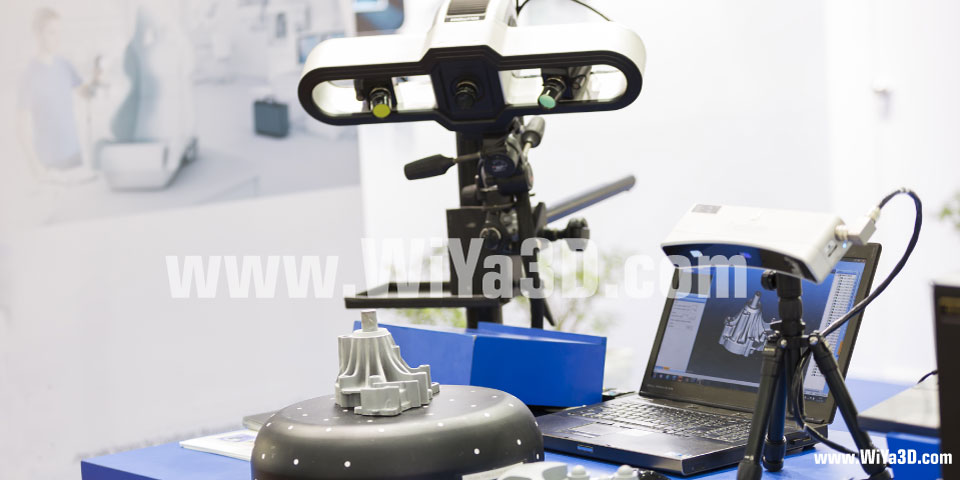
Structured white or blue light pattern project towards the object. Then 3D Scanner capture the deformation of light pattern on the scanning object. Those recorded data used to calculate & process distance to scanner to object & construct the 3D shape & size.
Top Popular 3D Scanner based on this Technology – Shining 3D, Artec, ZEISS,
Photogrammetry – 3D Scan
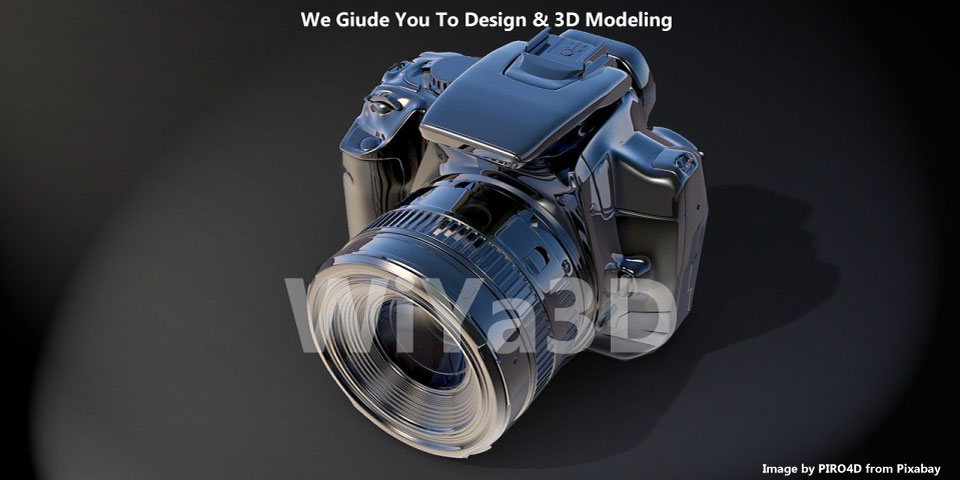
Photogrammetry based on , 3D scan a static object with any size (even building, aeroplane, bridges,..) from photographs. Which have taken from different view points. In this technique it’s important to have large number of photographs for static object, all around with different views. And special computer software to compute the 3D object shape/size from photographs. Even with normal DSLR camera can be used as 3D scanner in this technique.
Top Popular 3D Scanner based on this Technology – Shining 3D, Artec, ZEISS,
Top Popular Photogrammetry Software – 3DF ZEPHYR, Autodesk ReCap, COLMAP, Meshroom, Photomodeler
Laser Pulse – 3D Scan
In this technique,3D scanner project a laser beam towards the scanning object and measure the time taken to receive the laser pulse back to scanner-sensor. These measured/recorded data used to compute the distance between scanner & object, thereby construct the 3D modeled of the object.
Contact
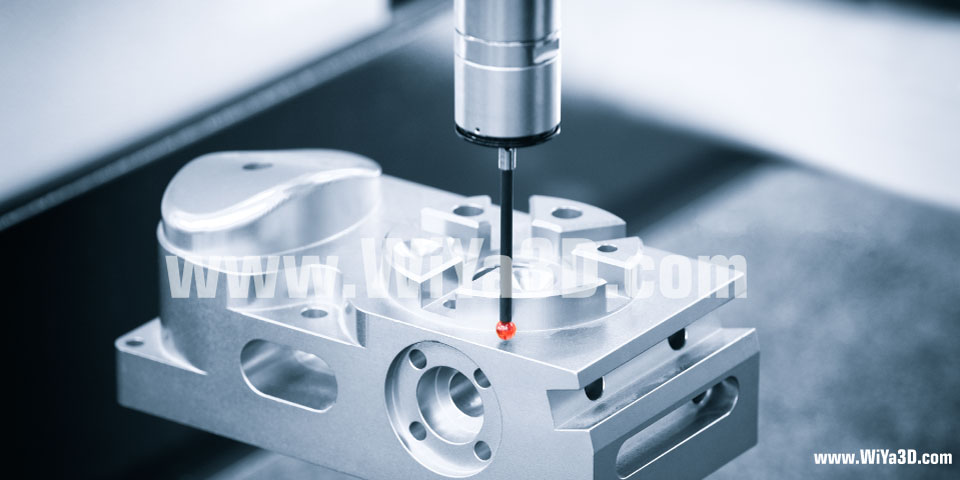
Diamond touch probe has been used to record the XYZ three dimensional data in this technique. While the object fixed to platform, the touch probe manually or automatically touch the object shape in randomly or programmed pattern. Coordinate Measuring Machine (CMM) is based on this technique.That is the very old or start of the 3D scanning technology. However, this method relatively slow in recording 3D shapes of the objects.
3D Scan & Reverse Design
3D Scan – Processing Software
Depending on the 3D Scanning Technology & leading industrial brands, they come with 3D data processing software. This 3D scanning software interface with computer as well as particular 3D Scanner to calculate & construct the 3D digital model. Every processing software initially construct the XYZ point clouds data with, if any available texture/color mapping data.(however, every 3D scanning technology, type does not allow getting object real texture/color data . Based on the requirement, and 3D scanner quality range, you will get high end 3D scanner with texturing capturing capability)
Those initial constructed, XYZ point clouds data, then convert into other formats by constructing triangular mesh. Other popular format, that most of 3D scanning software output in STL, OBJ, PLY,…
After the process 3D scanned data directly can feed to 3D Printer & Rapid Prototype machine and get the exact copy of scanned object. And with latest CAM technology development, STL data can be used to CNC machined by generating tool path/CAM programming directly with the 3D scanned STL model in order to get the high accuracy CNC part.
If that doesn’t work or, if you need an editable CAD model for further modification.Here come the requirement of Reverse Design Software.
3D Scan – Reverse Engineering Design
Based on 3D scanned data, the process of rebuilding the editable CAD model for scanned object is called Reverse Engineering Design. Conversion of 3D scan data to high accuracy, feature based CAD model done by along with Reverse Engineering software. Which used to further edit and process the 3D scan data & extract the surface, shape of the object towards rebuilding CAD model.
Top Popular Reverse Design Software – Geomagic Design X, PolyWorks
What are the Application of 3D Scanning
The presence of fast-growing modern technology is all over the business community today. 3D scanning & reverse design technologies are revolutionary. 3D scanning has replaced other tools to become the most preferred tool for reverse engineering thanks to its accuracy, efficiency, and effectiveness. And various professions and industries have embraced 3D scanning technology.
The two technologies (3D Scan & Reverse Design) will give you the edge you need in the field of industrial application,
-
Industrial & Product Development
-
Automotive
-
Aerospace
-
Medical
-
Criminal Investigating
-
Archaeology
-
Art Design & Gaming


