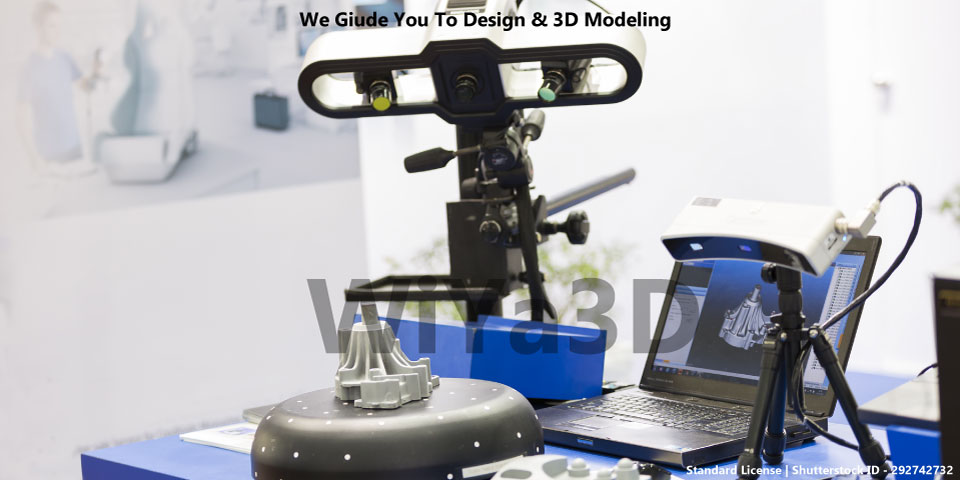
Do you ever wonder how to 3D scan the objects and copy the existing shape yourself for 3d print, 3d modeling/CAD or develop further with existing shapes. If you have and just a digital camera of any level DSLR. You will be able to 3D scanning with camera. No need to spend lot of money for 3D scanning services for each and every task. And it’s always high end 3D scanners with higher accuracy and texture capturing capabilities are quite expensive. But you can snap some photos for the object and with photogrammetry software you can create digital file for the object in much cheaper way. This 3D Scanning with camera photos called Photogrammetry technology.
What is Photogrammetry
Usual high end 3D scanning technology used , laser, light or touch probe to gather and collect the geometrical data for the 3D scanning object. Photogrammetry technology, record and create the part geometrical points,using photographs with help of specialized software and computer in order to model digital file. By taking bunch of photographs around the object with different angles, you will be able to inpu to the photogrammetry software. During photographing process , it’s important to have overlap areas each and every consecutive photograph. Those overlaps allow the software to align the photographs and create the three dimensional point clouds for the 3d scanned object.
Important Steps to Follow , When 3D Scanning with Camera
01. 3D Scanning Object Color
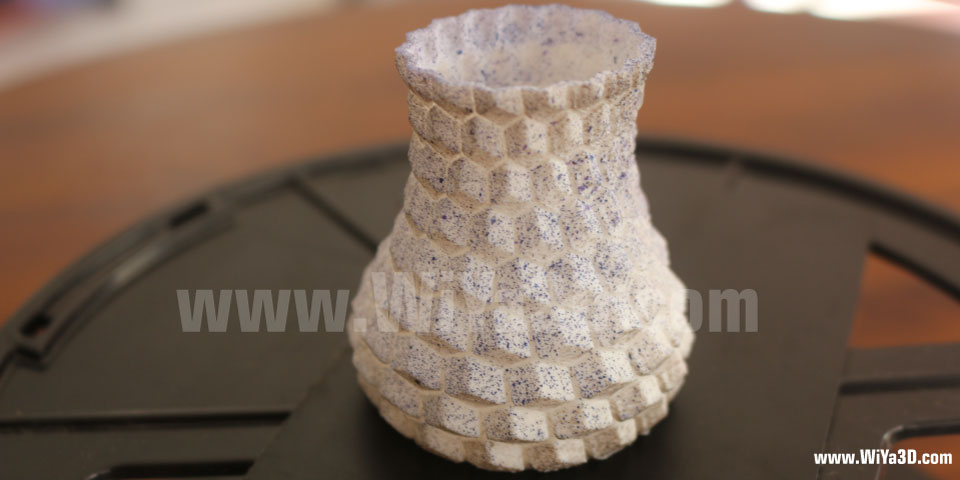
It’s important to have object color with White for scanning, you may paint the object main color to white. Avoid the transparent, shiny surfaces & reflective objects, that’s not work with this technology and it’s will make lot of noises in final post processing. You may use black color as backbround for the object but that’s object main color shouldn’t be black any way. Light colors like dark vanilla, ash gray, baby blue, arctic lime,…… color surface with objects also can be 3d scanned with this method.
02. Prepare for Object for 3D Scanning
Photogrammetry software, align the images and construct the digital file according to overlap mapping points. Therefore we have to create the surface different mapping point withing the object surface. With different colors pain spray, it’s possible to apply one or few colors dotted mark in object surface.
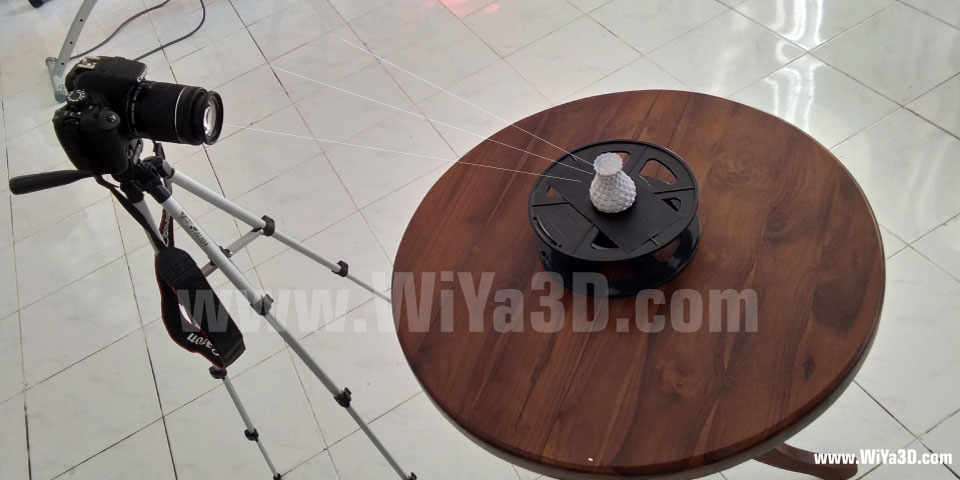
03. Setting Up DSLR Camera – Setting & Photographing for Photogrammetry
- Change camera shooting mode to Manual Mode
- Keep ISO Value 100 -200, and more the ISO value more the noises in images
- Keep the aperture setting f8- f16
- Use the fast shutter speed, more than 1/25 and increase with result
- Don’t use flasher
- Avoid the shadow when take the photographs
- Keep the even lighting condition around the object
- Focus the object & keep the object center of the camera frame
- Use the clean background
- Keep the object fixed and avoid getting land etra dust/insect during photographing process
- Each consecutive image need to have lot of overlap pints. Generally one image to next consecutive image should have 80% overlapping.
- Take more photos for each round before go for next round with different angle
04. Processing Images with Photogrammetry Software
Once you have taken the bunch of photographs, then next point is how do you align these photos for 3D digital data of the physical object. Here, you have number of software choices that allow photogrammetry 3D scanning & image processing.
Photogrammetry Software
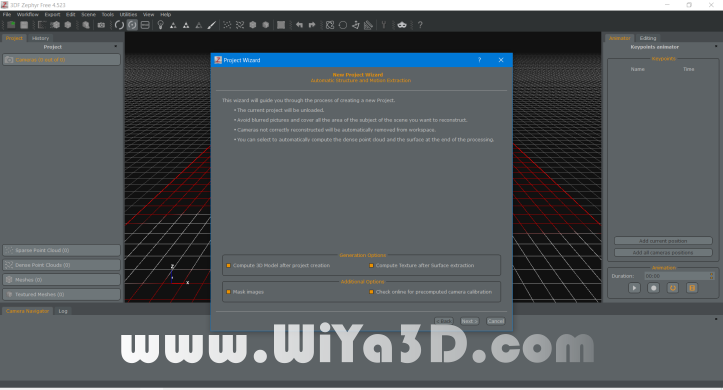
Here, selected the 3DF Zypher, photogrammetry software , which can be used free upto 50 images processing. for more feature always you have to purchased the software with project requirement. Here, we are not going to discuss about each and every software capabilities rather selecting one software, just process and construct the 3D digital file for, what we 3D scanned with DSLR camera.
Processing Images with 3DF Zypher Free – Limited Software
Import the photos to the software and follow the process. The 3DF Zypher free version only allow upto 50 images to process and it will be enough to cover the general object shapes. The software processes & work flows are different from to one to another, in 3DF Zypher, it’s bit easy wizard to follow, once you have import the images.
STEP 1 – Import the images and setup the processing wizard setting depending on the quality require

STEP 2 – Export the construct 3D digital data for the model (Zypher allow ply, obj/mtl, gib & sketchfab export file formats)
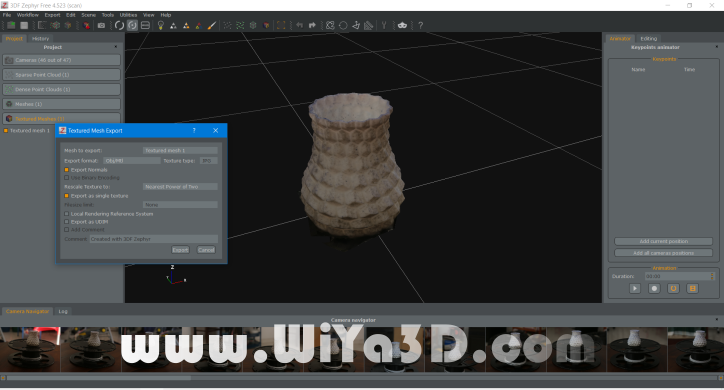
STEP 3 – Import the , 3d scanned file for further post processing to polygon/mesh editing software and edit/clean, smooth,… the data for 3d printing or any further CAD modeling. Measure the actual physical object reference dimension and scale the mesh in order to get closest dimension match 3d scanned 3d model from DSLR camera.
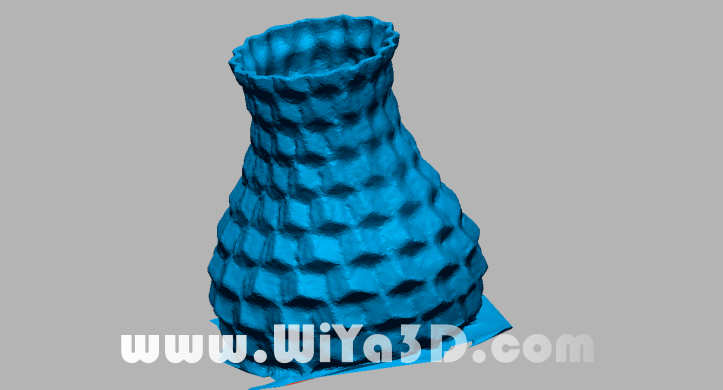
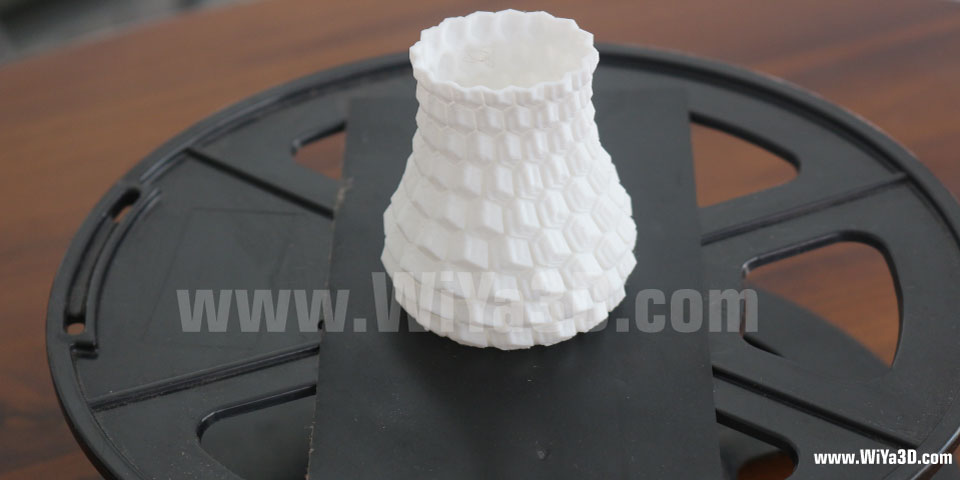
Finally, the 3d digital model, for the physical object which are taken from help of DSLR camera, computer & photogrammetry software. After post process, the mesh it can be served as,
- 3D Print for Copying the Object
- CNC Machining
- CAD Reverse Modeling and if it’s
- Character objects can be used as 3d art work and animation….