Character modelling or modeling humanoid character in blender was never easy. You need to Sculpt, do re-topology, do UV unwrapping, Paint texture and then you need to Rig your character for the animation. And each step you follow, there are much more details which can be painful sometimes ! So when it comes for easy character animator, the MakeHuman is small software plugin which make process easy. It comes with various options where you can customize your character and can Rig the character and directly import into blender by some native export options. Here you will get step by step guide where you can explore a new and very simple way to generate a humanoid character for your next animation !
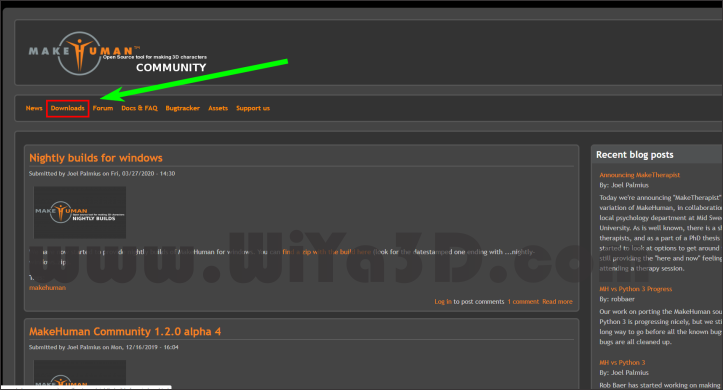
1.Go to MakeHuman website and there you will get to see the Option called Download.
2.Download the older version cause the codes of older version are much more stable.
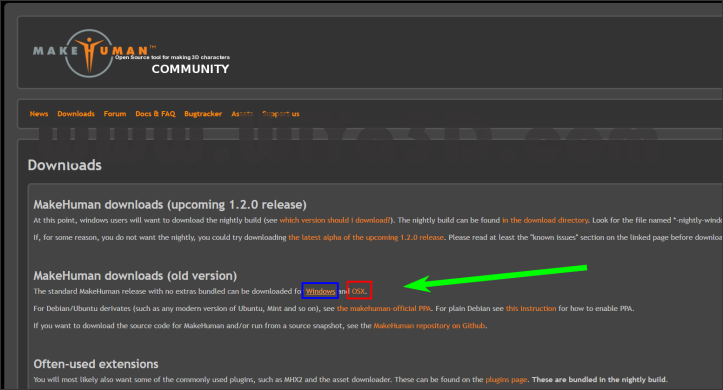
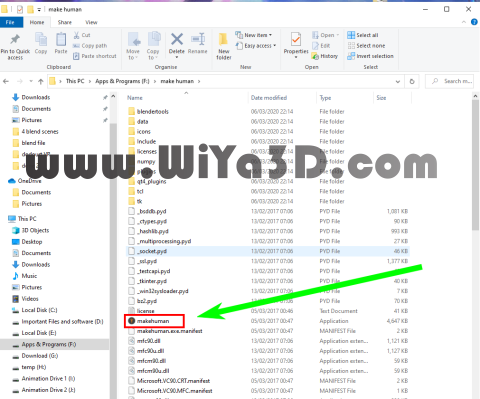
3. Download will be visible as Zip file which you can unzip in your desired folder and Run the exe file.
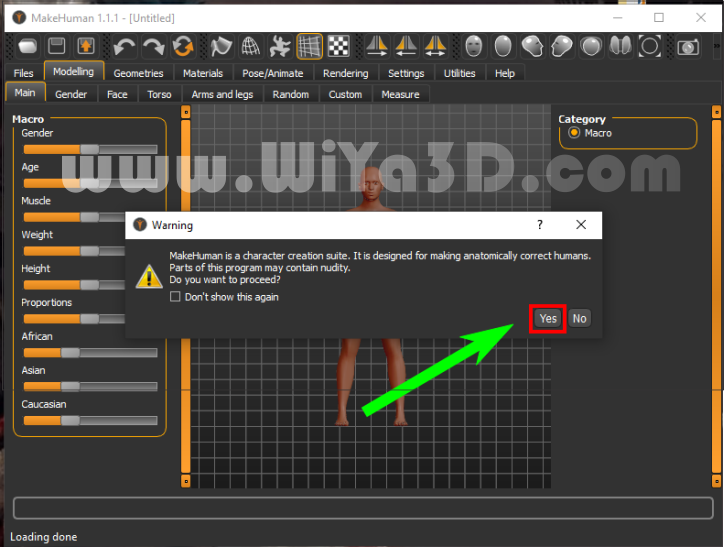
4.After you run the exe file , there will be a warning showing up that it contains Nudity. You need to check the option ‘Yes’, otherwise the software won’t run.
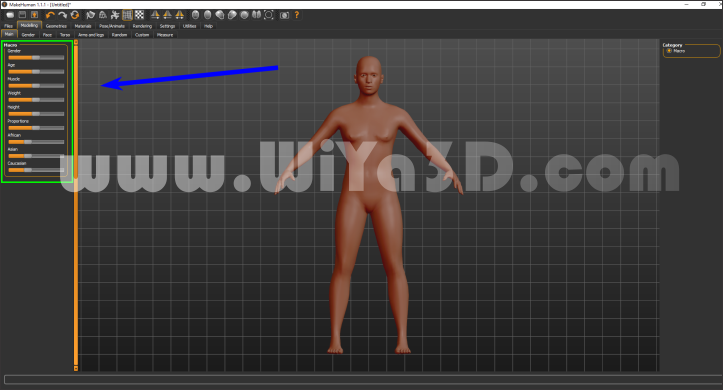
5. You will Find several options in the left side after you see the start screen . You can Toggle between the options to get your desired character topology. There are some options in the top bar , where you will find front view , left view , right view , top view options and also options for wireframe view and screen capture and so on.
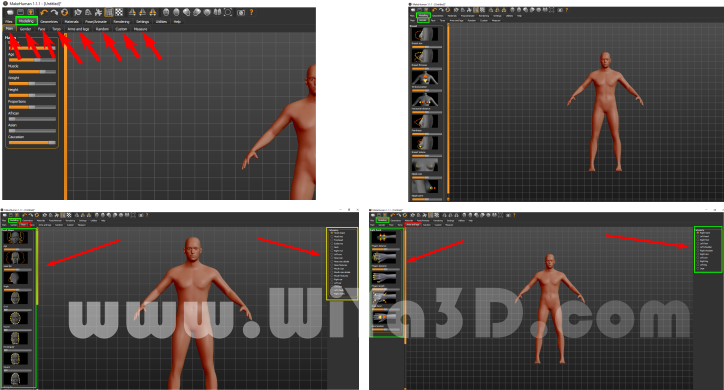
6.Under one main menu , there are different submenus . Under modelling, you will get main, gender, face, torso, arms and legs etc. see attached image for more clear idea.
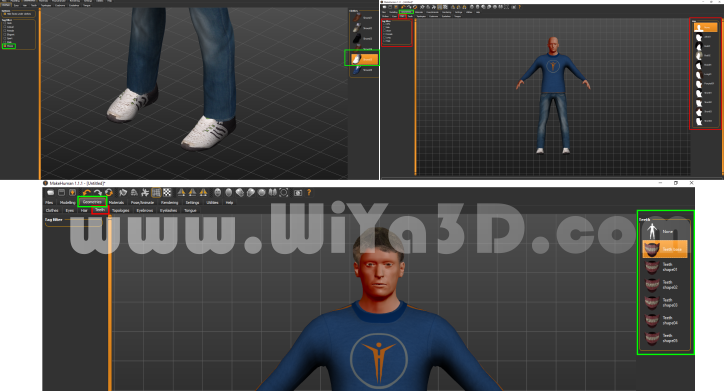
7.After you are done with modelling part, the you can come up to Geometry tab and can chose the clothing from cloth tab . I have added one casual clothing . Which is giving him a nice look !

8.I prefer Hide faces under cloth, because, if you don’t hide the faces under cloth, then when you will be animating the character in blender, you will see some body parts are coming through out the cloth. But you are always welcome to try your own !

9.I was not liking the bare foot, so I have added one pair of shoe. Also, I have added hair and teeth.
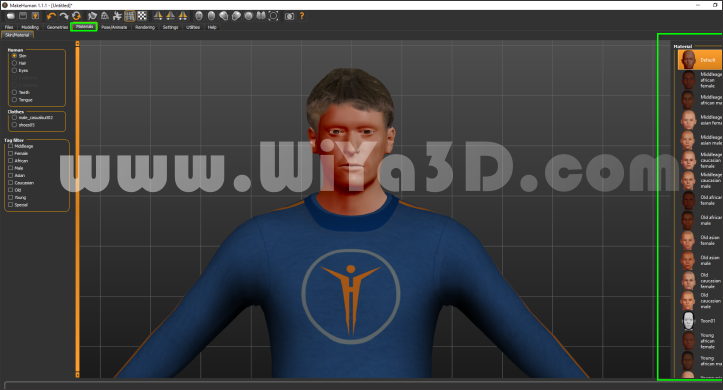
10. You will also see materials , where you can choose the body color.
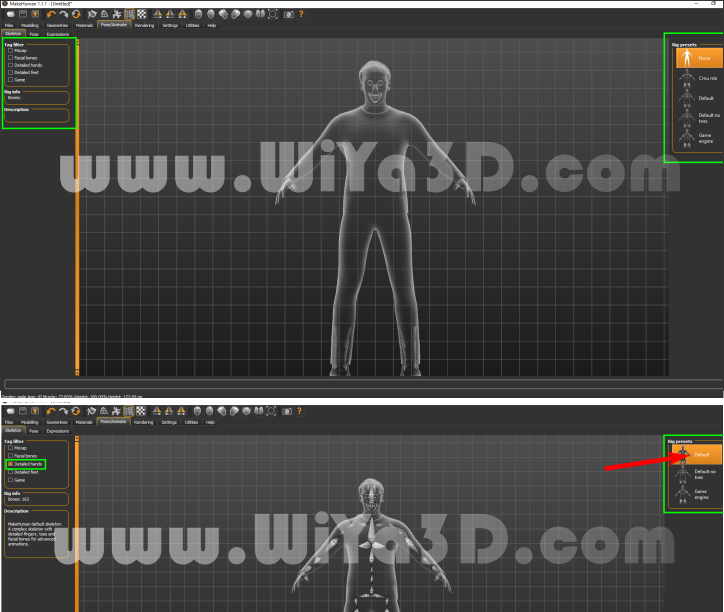
11. Now we are in the most important part of the modelling, where we need to rig the character . In the Left side you see several types of character like Game, Mocap and so on. If you are making your character for game engine, then the preferable rig will be Game Rig, If you are working on motion capture animation and want to import motion capture data in it, then you need Cmu mb rig. Add the Cmu mb rig cause I will use mocap data.
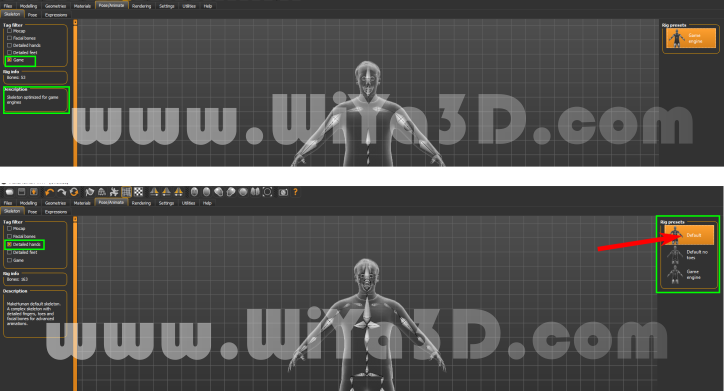
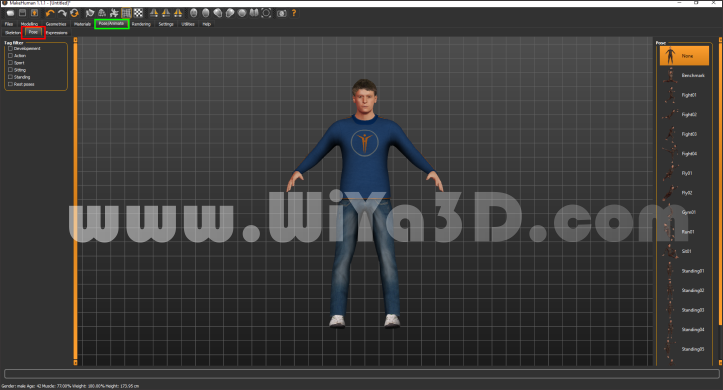
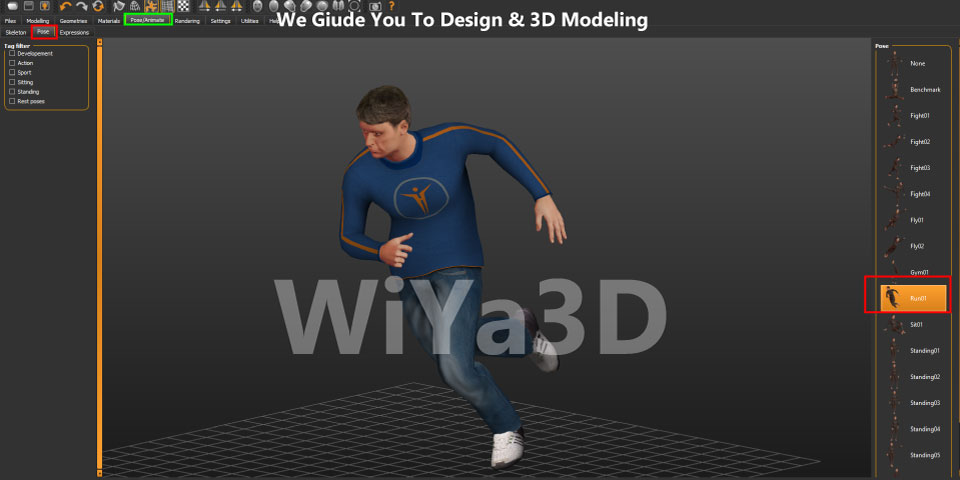
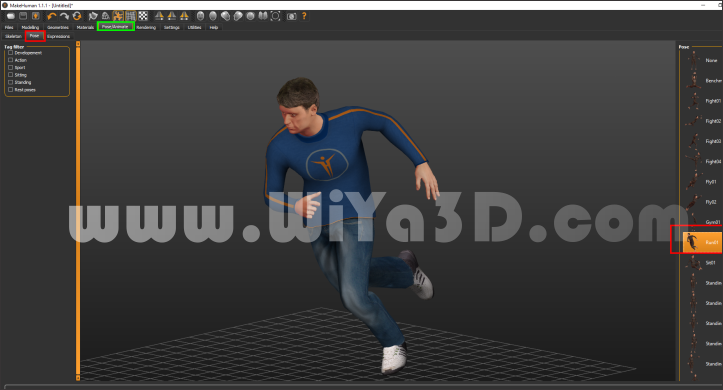
12. Also after setting rig , then you can inbuild human character animator withing the MakeHuman. if you want your character with a particular pose , then you can hop into Pose library and choose your particular pose. But I will choose None. Also there are expression tab beside pose tab and you can chose a particular expression if you want…!
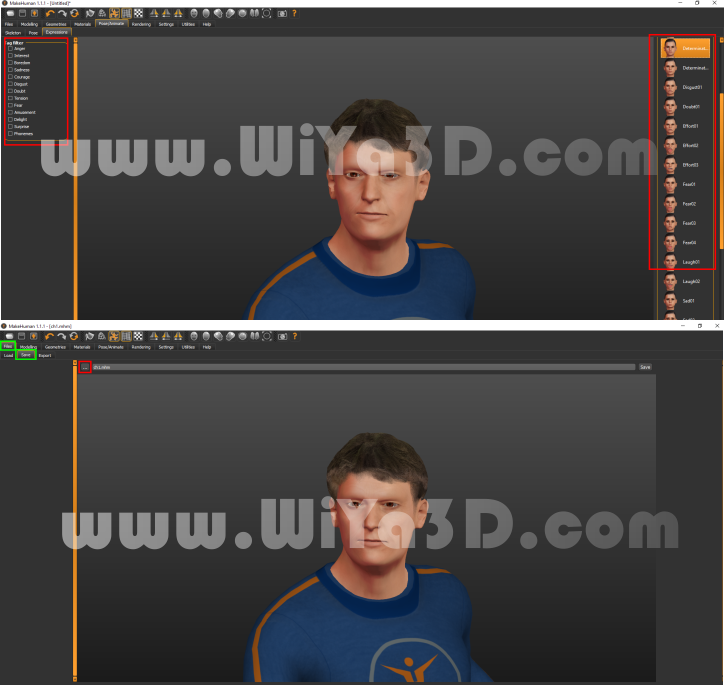
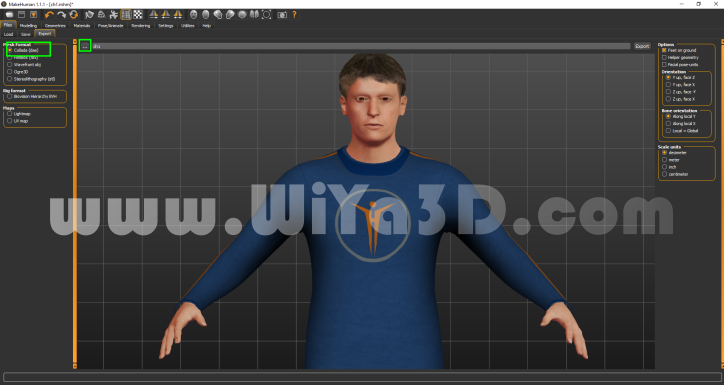
13. If everything is complete,then you can save your character by going files > save and choose a folder to save your character. Then you can see export on the next tab and export your character on desired file location clicking on 3 dot icon. I prefer FBX or DAE does the best job when exporting and importing the character in blender.
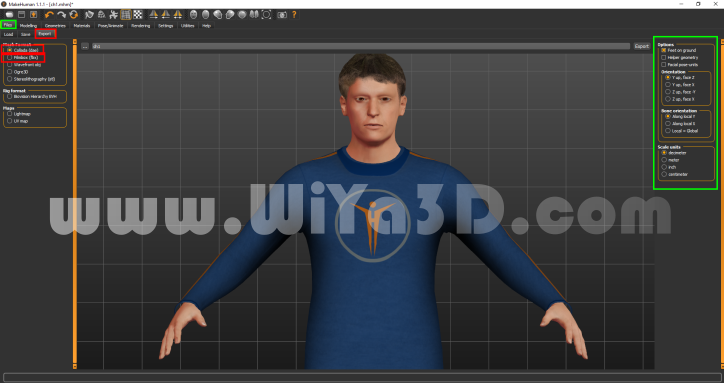
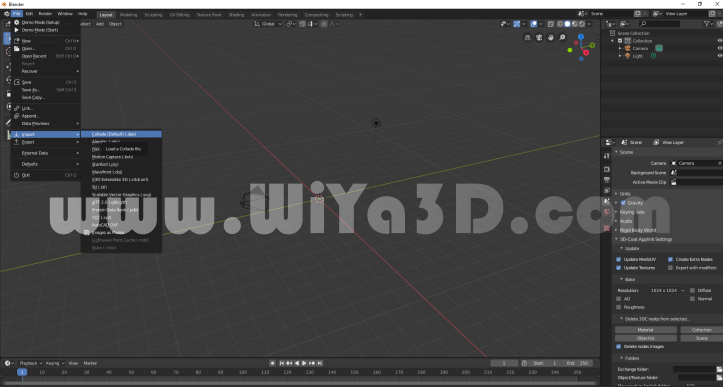
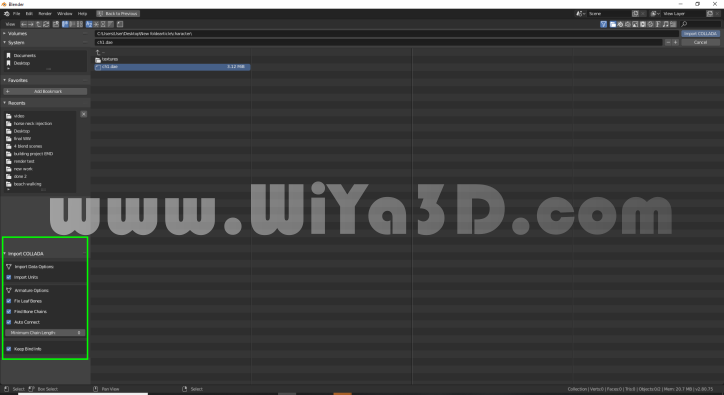
- After you export, you can open blender and go to Import > Dae and choose your character. Don’t forget to check all the options in the bottom left side when importing the character .
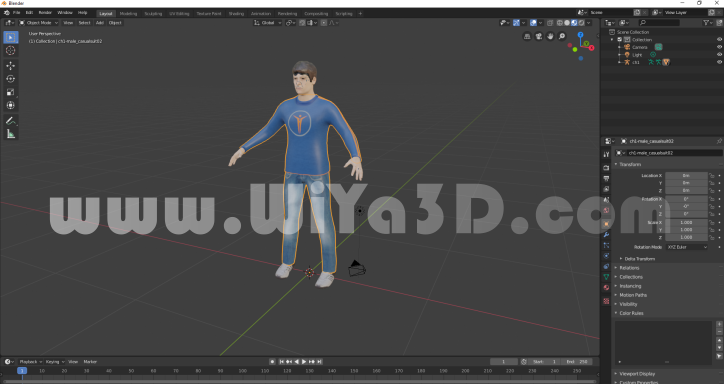
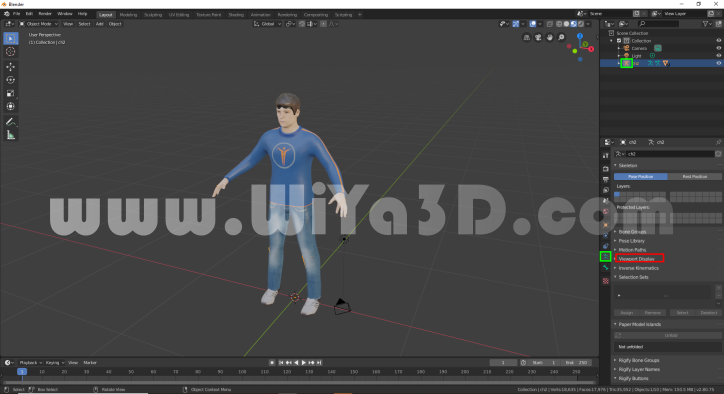
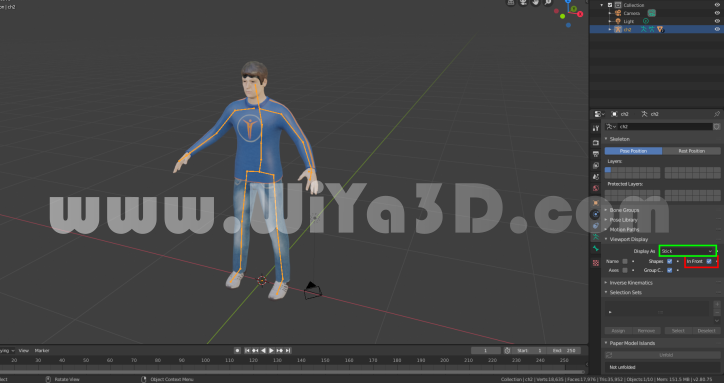
15. After you import the character, you can go to armature tab and check in front option going to viewport display. So you can see the armature in Xray more. Now you can go to pose mode when selecting the armature and animate your character ! It is that much easy…!
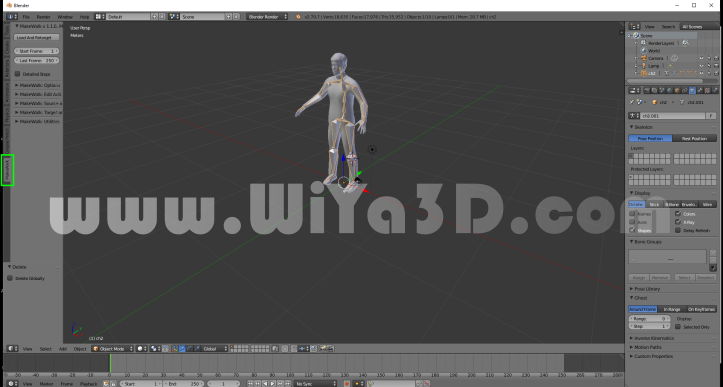
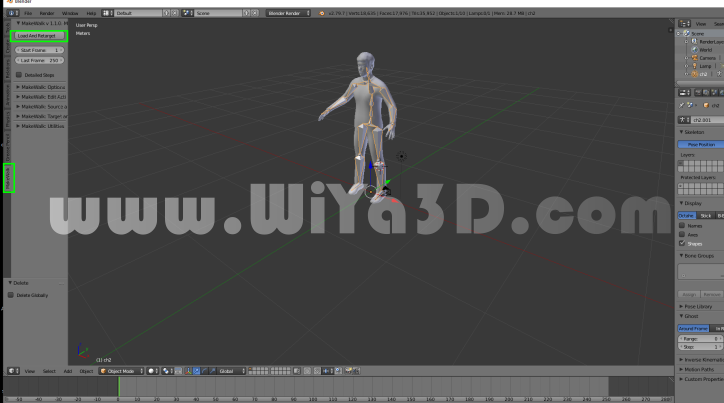
This is simple tutorial how the MakeHuman , humanoid character model and animate the model with character animator.


